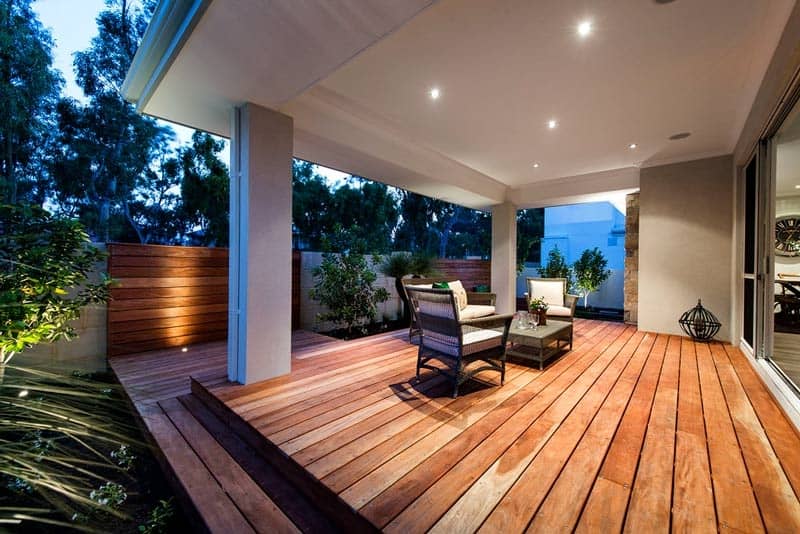
Summer is fast approaching, which means one thing for our backyards – outdoor entertaining. The best space to do this? A deck.
They’re an ideal way to finish off your outdoor space, creating a place to entertain your friends and family in the beautiful weather.
Whether you’re a DIY decking expert or have hired a construction professional to build your foundations and framework, you can easily lay your own decking in just a day. With the right information, products and some prior planning, you can save some money whilst enjoying the benefits of your own handiwork.
Imagine starting Saturday morning with a construction site and finishing it with a barbecue on your own brand-new deck that night.
Ready to build your deck? Let’s get started!
1. Grab your tools
Having your tools at the ready will make your work much easier. However, the toolkit you need for your job will depend on what decking boards you use.
For example, if you choose Modwood Decking you won’t require any special tools and can use conventional fasteners for fixing, including concealed options like KlevaKlip. If you choose timber decking, you might need to pick up some additional hardware like screws and pre-drilling and countersinking tools.
To make things easier for you, we’d recommend a power saw for cutting and an electric drill for fixing. A measuring tape, spirit level, and twine for setting out will also ensure your decking is installed evenly.
2. Choose your decking (composite or timber?)
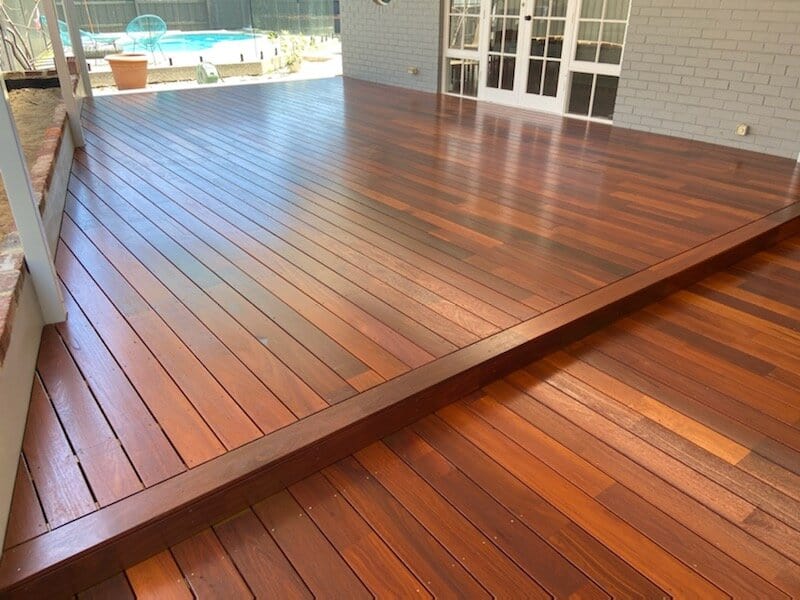
There’s a great range of beautiful decking options available these days, from composite decking to timber. These all meet different requirements, so it’s important to choose the right one for your job.
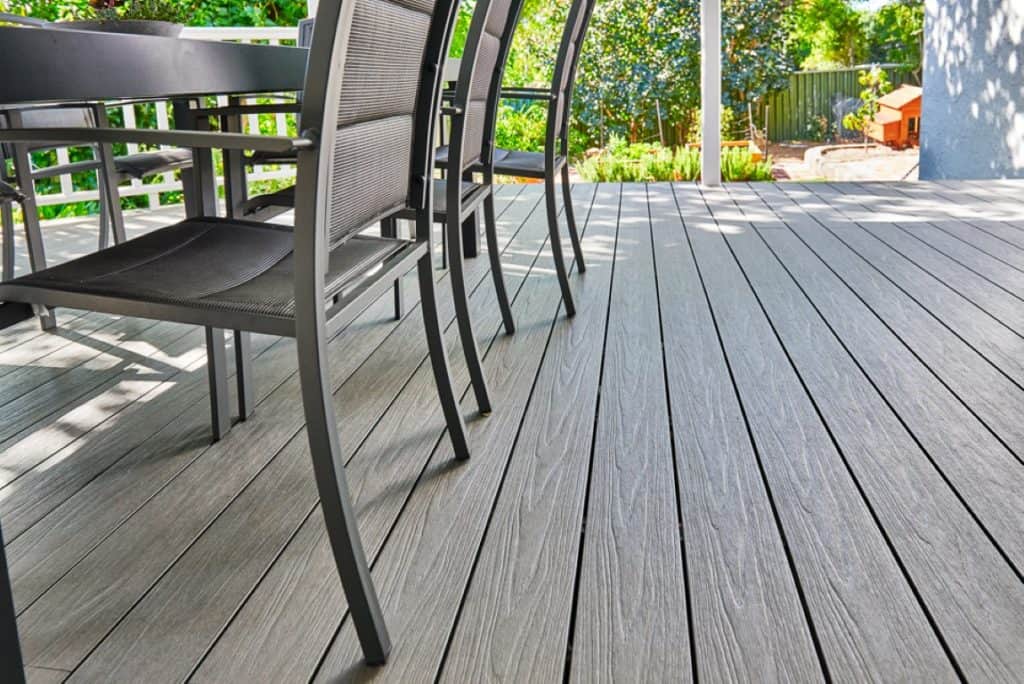
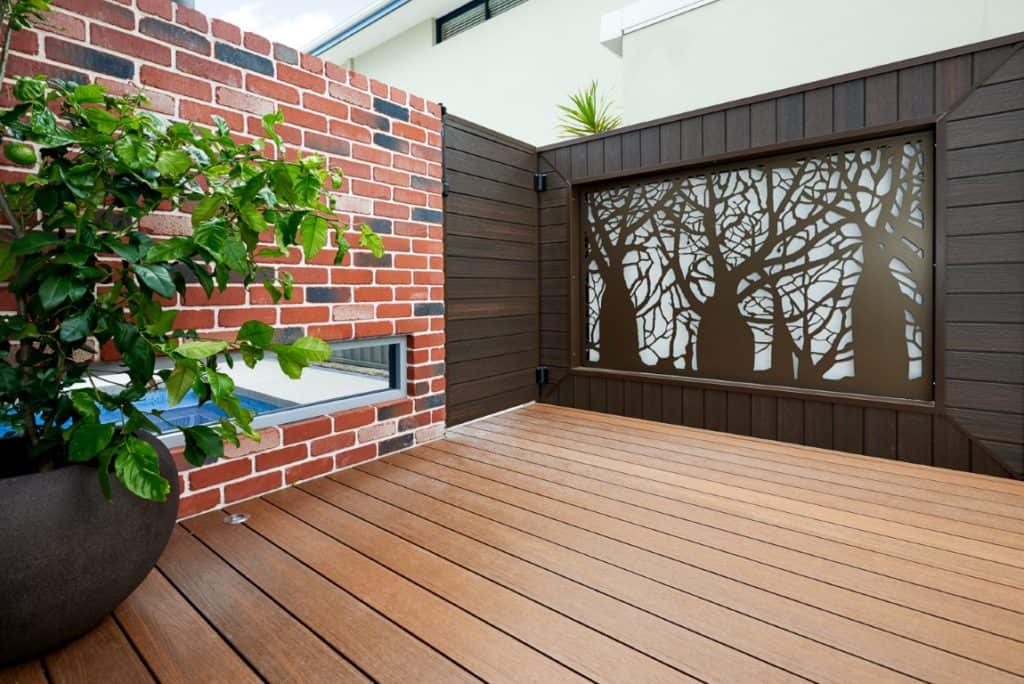
Modwood Decking is composite decking that’s a top product for backyard decks. It has the warm look of wood and will last for years without the maintenance requirements.
It comes in a range of sizes, colours, and finishes – meaning we’ve got you covered for a diverse range of styles and designs.Importantly for your project, it’s easy to install, won’t splinter (so it’s great for kids and around pools), and doesn’t require any additional waterproofing or preparation.
Contact us and we’ll be happy to show you samples, so you can get a feel for what your deck will look like.
3. Site measure and set-out
Measure up the size of your deck framework to make sure you get the right quantity of materials for your job. Taking the time to do this will save you money and time, stopping those return visits to your supplier’s yard.
Make sure you check the width and length, considering any of your home’s features that you’ll have to work with.
Once this is done, you can confidently cut your decking boards to size if required. It’s suggested you only cut boards when you need a shorter length. This saves work for you and ensures the lengths are more likely to be consistent.
4. Position the first board
Now for the fun part – it’s time to lay your first board.
It’s important your first board is straight, as it is going to shape how the rest of your boards sit next to it. Check it’s true by using a spirit level to align a stringline with the outside edge of the deck’s frame.
5. Fix your decking board
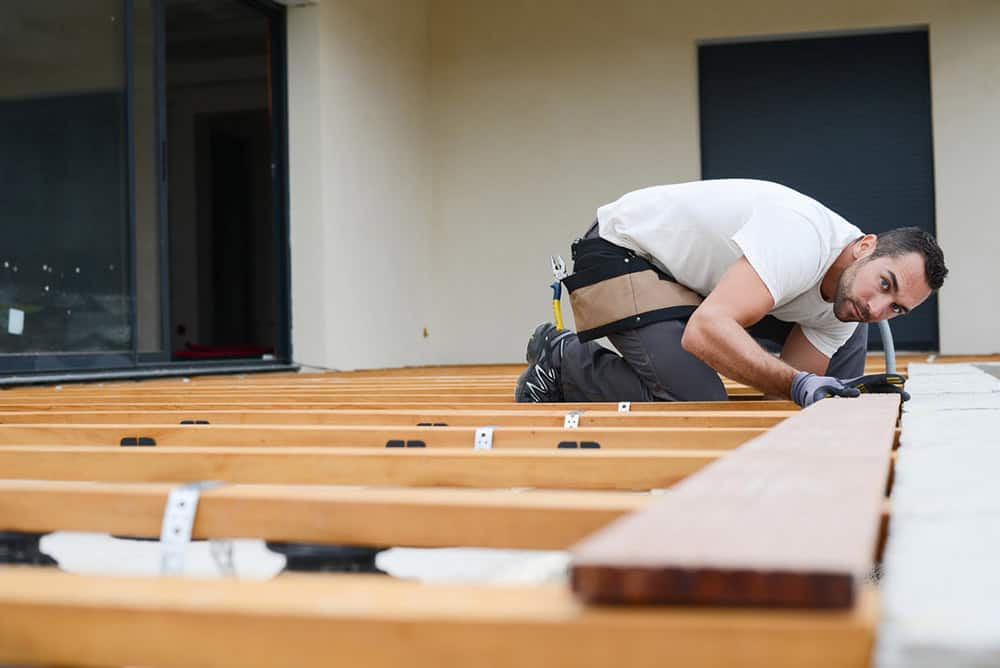
Once your first board is straight, secure it to the joists.
Whether you fix the decking through its top or side will depend on what type of fastener you’ve opted for. Regardless, it’s important they are fixed in the centre of the joists, to ensure the decking boards remain secure.
If you use fasteners that are exposed, keep them in a straight line for maximum aesthetic appeal – you want your deck to look good.
6. Place and repeat
Congratulations – your first board is in!
Now it’s just a matter of repeating the above step until your deck’s framework is covered, ensuring there’s a 3-6mm gap (depending on the decking used) between each board to allow for expansion.
To keep the gap between your boards consistent and your deck looking amazing, you can use spacers or wedges. Another handy tip is to simply knock a nail into the joist next to each decking board, and then place the next board flush with the nail.
If you need multiple boards to cover the length of your deck, ensure the boards are placed so they abut or join up over a joist . Stagger these joins so that there’s not a straight gap that runs the length of your deck.
It’s also important to lay your boards in small groups, allowing you to make adjustments as you progress. To do this, check your decking is still straight every five or six boards, by using a spirit level and stringline.
7. Trim the ends
Once your decking has been laid and secured, cut any overhanging boards so that they sit approximately 20mm over the edge of the deck frame.
By cutting all the boards to size at the end, you’ll be able to ensure the finish is consistent.
8. Add finishes
To complete your deck, screen any parts of the exposed frame by attaching boards to the formwork. This will complement the decking you’ve chosen, and add some polish to your project, so that you can relish our final step.
9. Enjoy
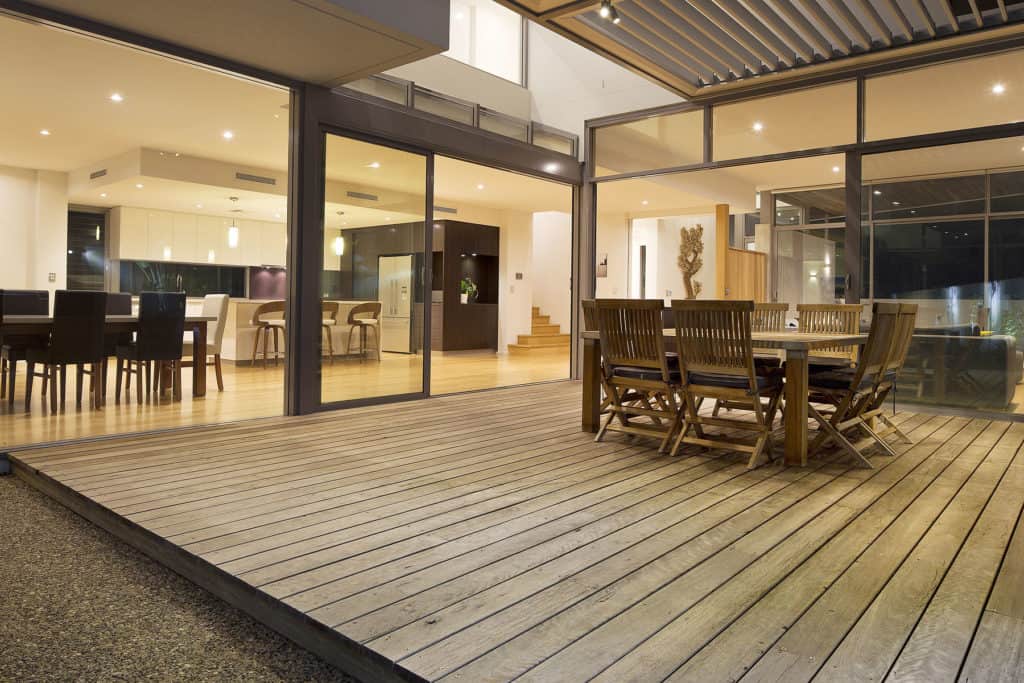
You’re done. Deck installed. A few hour’s hard work, for years of outdoor enjoyment.
All that’s left to do now is kick-back, relax, and enjoy the fruits of your labour.
And, at the end of the day, if you’d rather skip to this last step, then reach out to our team and we’ll be able to supply the decking and help you organise a specialist to install it.

